Changing a flat tire is a skill every car owner should know. A flat tire can also happen at any moment while you’re on the road. Flat tires are caused from something as small as screws, glass, and nails left on a road to pot holes, bumps, and more. You also can’t always rely on AAA services or a friend if you’re in the middle of nowhere. Use our guide on steps to take when you have a flat tire, and you’ll find it’s simpler than you think.
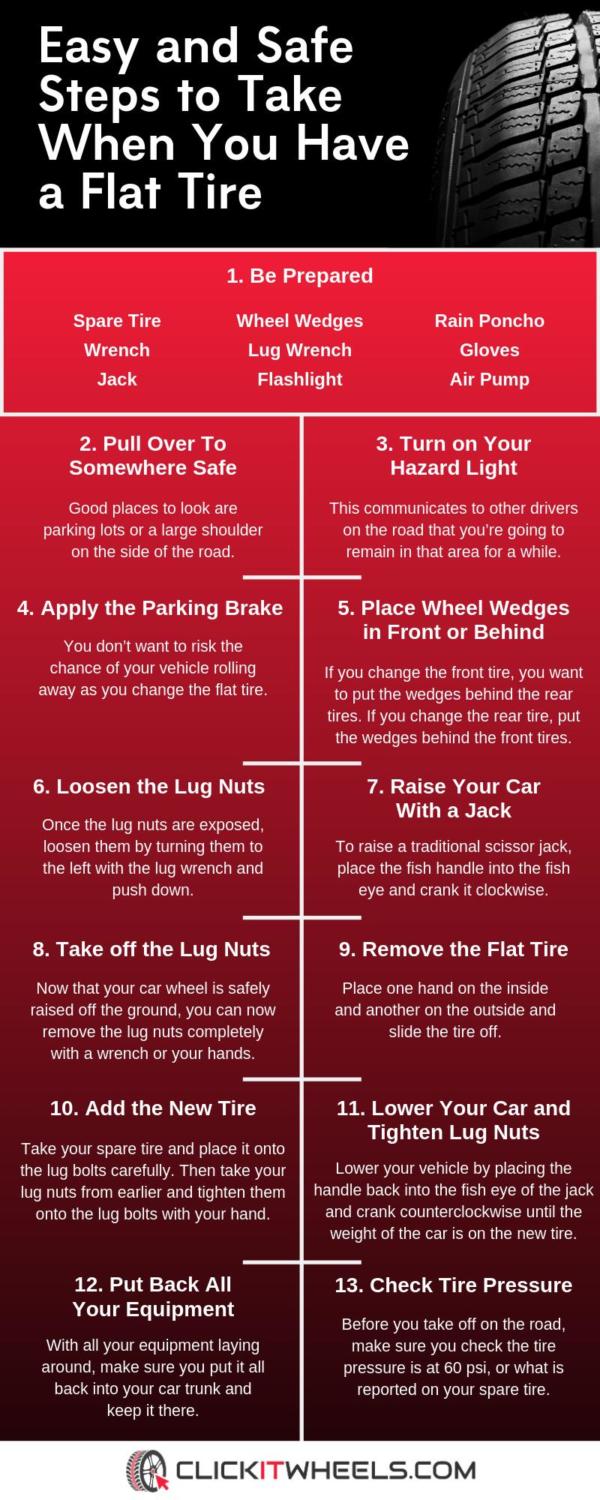
1. Be Prepared
The first step should happen before a flat tire even happens. Keep the necessary tools in your car to prepare for a potential flat tire:
- Spare tire
- Wrench
- Jack
- Wheel Wedges
- Lug Wrench
- Flashlight
- Rain Poncho
- Gloves
- Air Pump
The most important thing to have is a spare tire. According to AAA Newsroom, “Nearly one‐third (28 percent) of 2017 model year vehicles do not come with a spare tire as standard equipment.” Click It Wheels has a wide selection of aftermarket wheels and tires that will have you ready before a time of need.
2. Pull Over to Somewhere Safe
A flat tire can happen at any moment while traveling on the road. If you notice that your tire is flat, pull over to a safe position on the road. Good places to look are parking lots or a large shoulder on the side of the road. You want to be very careful if you’re on a highway, so make sure there’s enough room between your car and the others driving on the road. This will keep you and your vehicle safe as you begin the repair. If you think you need some extra help, call roadside assistance or a knowledgeable friend if you have cell service.
3. Turn on Your Hazard Lights
After you find a safe area on the side of the road, turn on your hazard lights. This communicates to other drivers on the road that you’re going to remain in that area for a while. This is another safety precaution, so you can avoid an accident as cars continue to drive on the road. Hazard lights are extremely important to have on at night, so others can spot you.
4. Apply the Parking Brake
When you’ve parked at a safe location, make sure you’re on flat, level ground, and apply the parking brake once your vehicle comes to a stop. You don’t want to risk the chance of your vehicle rolling away as you change the flat tire.
5. Place Wheel Wedges in Front or Behind
While the parking brake should keep your car still, it’s also a good precaution to use wheel wedges, especially if you must park on a slight incline. If you change the front tire, you want to put the wedges behind the rear tires. If you change the rear tire, put the wedges behind the front tires. If you don’t have wheel wedges on you, a large rock or a brick also works.
6. Loosen the Lug Nuts
Now that you’ve taken the necessary steps to prepare for changing out the tire, you can now begin the changing process. Your next step is to loosen the lug nuts. If you have a hub cap or wheel cover covering the lug nuts, you want to remove that first by using the flat end of your lug wrench.
Once the lug nuts are exposed, loosen them by turning them to the left with the lug wrench and push down. This will require some muscle, but make sure you only loosen them, and don’t take them off completely yet.
7. Raise Your Car with a Jack
Once you loosen the lug nuts, you can now place the jack under your car. The jack will need to go under your car’s metal frame, on a flat area either behind or in front of the flat tire. If you do this on a soft surface, place something flat underneath the jack like a piece of wood.
To raise a traditional scissor jack, place the fish handle into the fish eye and crank it clockwise. You will continue to crank with the fish handle until the wheel is off the ground.
8. Take off the Lug Nuts
Now that your car wheel is safely raised off the ground, you can now remove the lug nuts completely with a wrench or your hands. Ensure you don’t lose the lug nuts, and place them somewhere safe, like your pockets.
9. Remove the Flat Tire
With the lug nuts now removed from the wheel, you can now take off the flat tire. Place one hand on the inside and another on the outside and slide the tire off. You have now removed the flat tire from your vehicle.
10. Add the New Tire
Take your spare tire and place it onto the lug bolts carefully. Then take your lug nuts that you placed somewhere safe earlier and tighten them onto the lug bolts with your hand. Make sure the lug bolts are tight enough before you lower the jack.
11. Lower Your Car and Tighten Lug Nuts
Lower your vehicle by placing the fish handle back into the fish eye of the jack and crank counterclockwise until the weight of the car is on the new tire. You can then use the lug wrench to tighten the lug nuts to ensure they won’t come off while you drive. While tightening, do it in a star pattern so the tire is balanced. Then lower the jack all the way and remove it.
12. Put Back All Your Equipment
With all your equipment laying around, make sure you put it all back into your car trunk and keep it there. This includes the tire you removed so you can dispose of it appropriately.
13. Check Tire Pressure
Before you take off on the road, make sure you check the tire pressure is at 60 psi, or what is reported on your spare tire. Drive to the nearest service station, slowly, if your new tire needs air and you don’t have a pump with you.
The ability to change a flat tire should be known by any car owner because you never know when it could happen to you, or someone you know. The process is also easy, so you can avoid the headache if you already know the necessary steps to take when you have a flat tire.